Understanding the Solar Panel Installation Diagram
A solar panel installation diagram is a visual blueprint detailing the layout and connections of your solar system. It illustrates components like panels‚ mounting structures‚ inverters‚ and electrical connections‚ ensuring a clear understanding of how the system operates. This diagram is essential for planning‚ compliance‚ and troubleshooting‚ providing a comprehensive overview for both homeowners and installers. By analyzing the diagram‚ you can identify potential issues and optimize energy production‚ making it a crucial tool for a successful solar setup.
Solar panel systems are designed to harness sunlight and convert it into usable electricity‚ offering a sustainable and efficient energy solution. These systems typically consist of solar panels‚ an inverter‚ mounting structures‚ and electrical connections. The solar panels generate DC power‚ which is then converted to AC power by the inverter for household use. A solar panel installation diagram provides a detailed visual representation of these components and their interconnections‚ simplifying the planning and installation process. Understanding the basics of solar panel systems is essential for homeowners and installers alike‚ as it ensures proper setup‚ safety‚ and optimal energy production. This introduction lays the groundwork for exploring the technical aspects and benefits of solar energy systems.
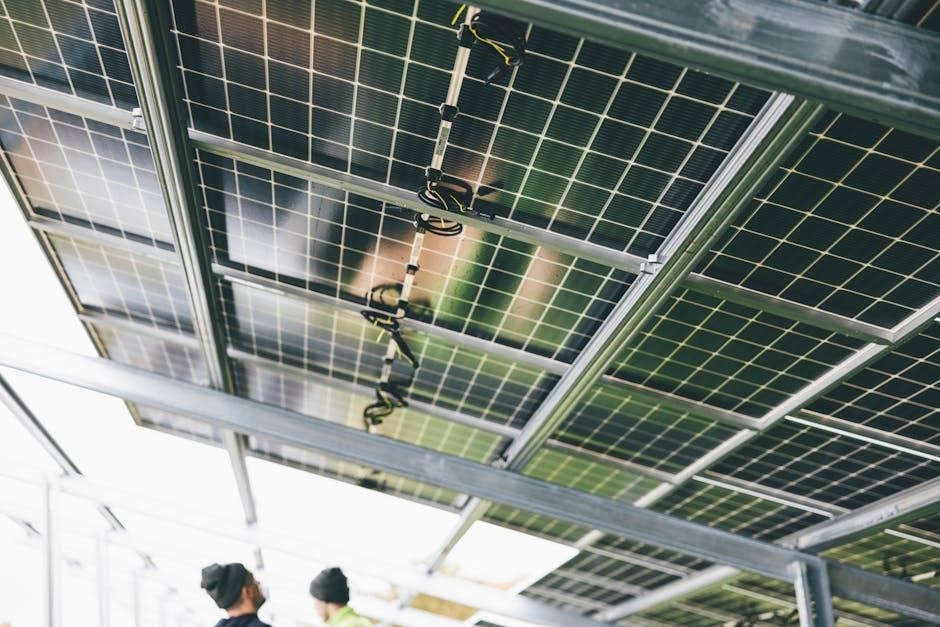
Key Components of a Solar Panel Installation Diagram
A solar panel installation diagram outlines the essential parts of a solar energy system‚ ensuring clarity and precision during setup. The primary components include solar panels‚ which capture sunlight‚ and an inverter‚ which converts DC power to AC for household use. Mounting structures secure the panels to the roof or ground‚ while electrical connections link all elements safely. The diagram also highlights wiring‚ junction boxes‚ and grounding systems to prevent electrical hazards. Additional features like batteries for storage and monitoring systems for performance tracking may be included. Understanding these components is crucial for a successful installation‚ as they work together to optimize energy production and ensure system reliability.

Step-by-Step Solar Panel Installation Process
The process involves assessing the site‚ obtaining permits‚ preparing the roof‚ mounting panels‚ connecting inverters‚ and conducting final inspections to ensure a safe and efficient setup.
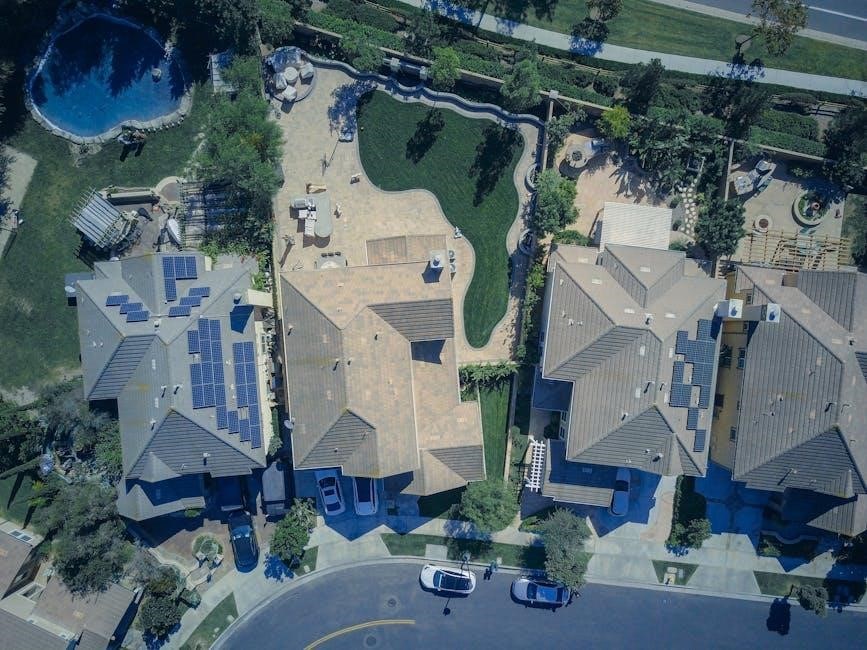
Preparing the Site and Roof
Preparing the site and roof is the first critical step in solar panel installation. Assess the roof’s structural integrity to ensure it can support the weight of the panels. Clear any debris and trim nearby trees to optimize sunlight exposure. Measure and mark the roof’s dimensions to align with the installation diagram. Verify local building codes and regulations‚ ensuring all permits are in place. Conducting a thorough site evaluation prevents future issues and guarantees a smooth installation process‚ maximizing energy efficiency and system longevity. Proper preparation ensures safety and optimal performance of your solar panel system.
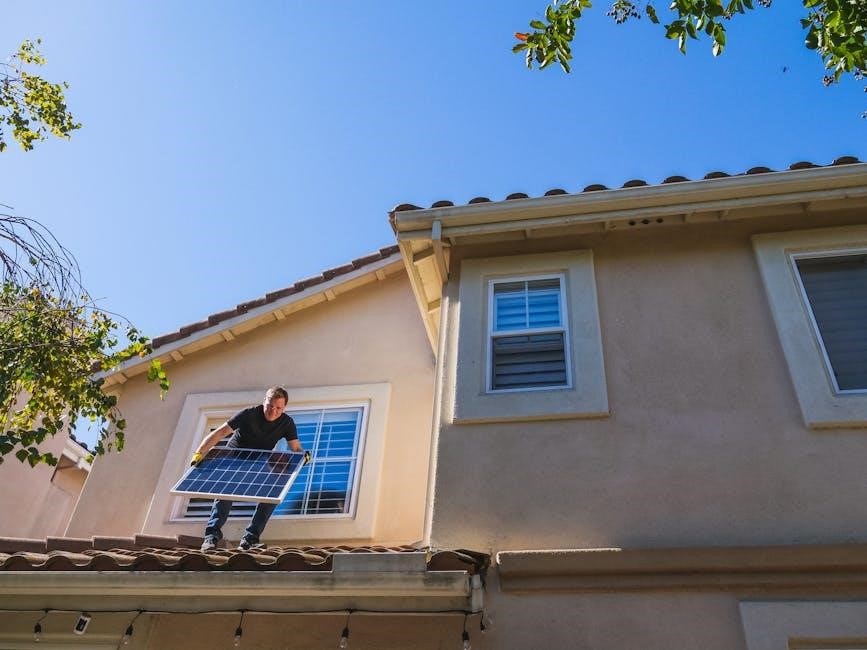
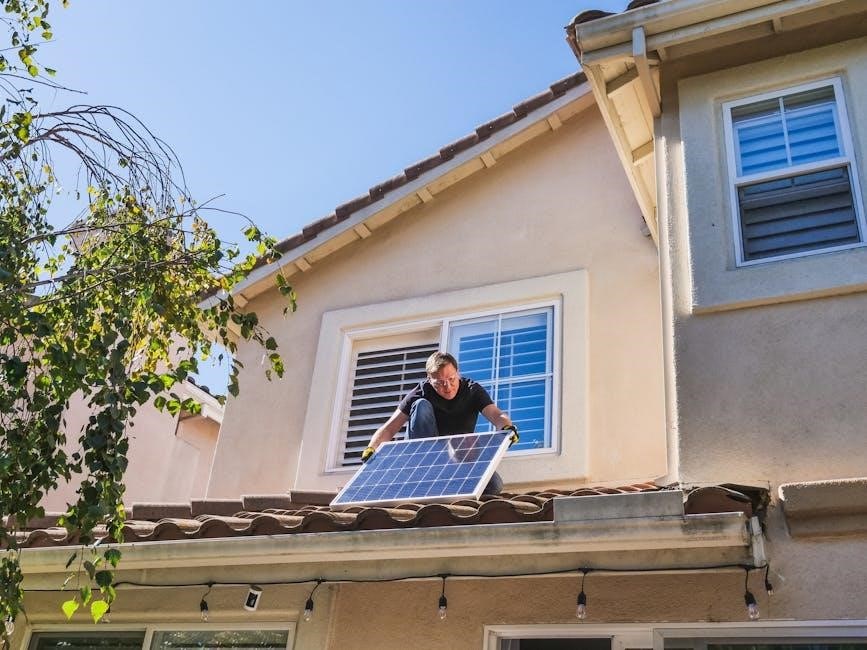
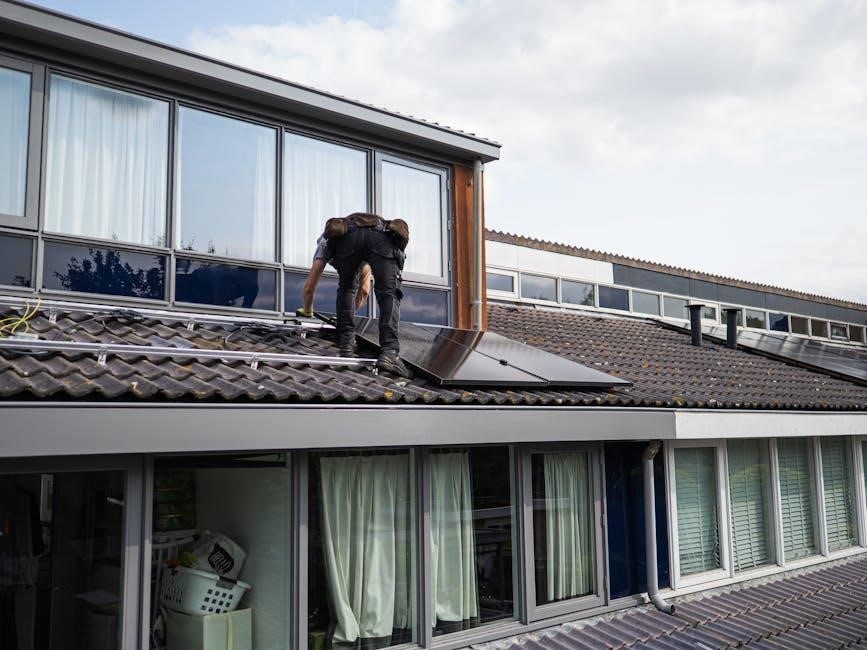
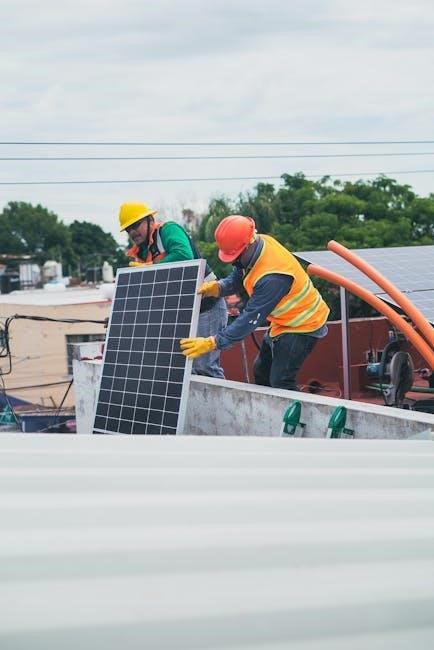
Mounting the Solar Panels
Mounting solar panels requires careful planning and precision. Begin by installing the mounting hardware‚ such as rails and brackets‚ according to the installation diagram. Ensure the panels are securely fastened to the roof or ground-mounted structure. Align the panels to optimize sunlight exposure‚ considering the angle and orientation specified in the diagram. Use durable hardware suitable for your roof type and climate conditions. Properly seal all mounting points to prevent water leakage. Follow safety guidelines‚ such as using a harness and ensuring the system is grounded. Double-check the alignment and torque specifications for all bolts and screws. Once mounted‚ connect the panels in series or parallel as per the diagram. This ensures efficient energy production and system reliability.
Choosing the Right Inverter for Your Solar System
Selecting the correct inverter ensures your solar system operates efficiently. Match the inverter’s capacity to your panel array’s specifications for optimal energy production and monitoring capabilities.
Understanding Inverter Sizes and Capacities
Inverter size and capacity are critical for a solar system’s efficiency. The inverter’s power rating (in watts) must match your solar array’s output to ensure optimal energy production. A properly sized inverter handles peak energy demands without overload‚ while an undersized one may fail. Capacity refers to the maximum power the inverter can process‚ influenced by your energy needs and panel configuration. Factors like peak sun hours and shading also affect capacity requirements. Choosing the right size ensures efficient energy conversion and system performance. Always consult a professional to size your inverter correctly‚ as mismatched systems can lead to inefficiency or equipment damage. Use your solar panel installation diagram to guide the process and ensure compatibility.
Expanding or Upgrading Your Solar System
Expanding your solar system involves assessing energy needs‚ adding panels or components‚ and ensuring compatibility with existing setups. This upgrade enhances energy production and efficiency effectively.
Considerations for System Expansion
Expanding your solar system requires careful planning to ensure compatibility and efficiency. First‚ assess your current energy usage to determine if an upgrade is necessary. Evaluate the condition and capacity of your existing panels‚ inverter‚ and mounting structure. Check for any potential shading issues that might affect performance. Review local building codes and permits required for modifications. Budget considerations‚ including hardware and labor costs‚ are crucial. Additionally‚ consider future energy needs and technological advancements. Consulting a professional installer can help avoid compatibility issues and ensure a seamless integration of new components. Proper planning ensures optimal performance and maximizes your investment in renewable energy.
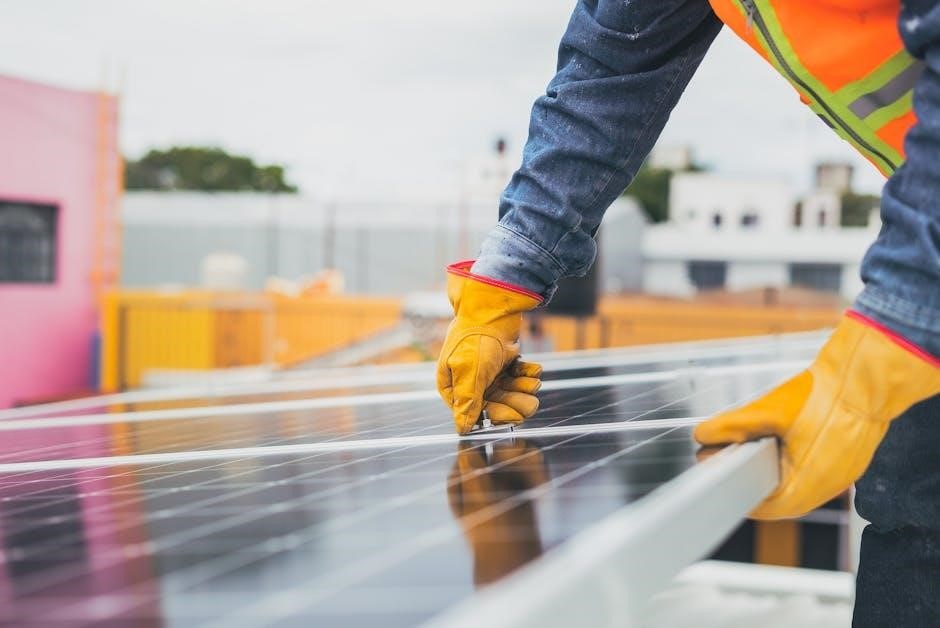
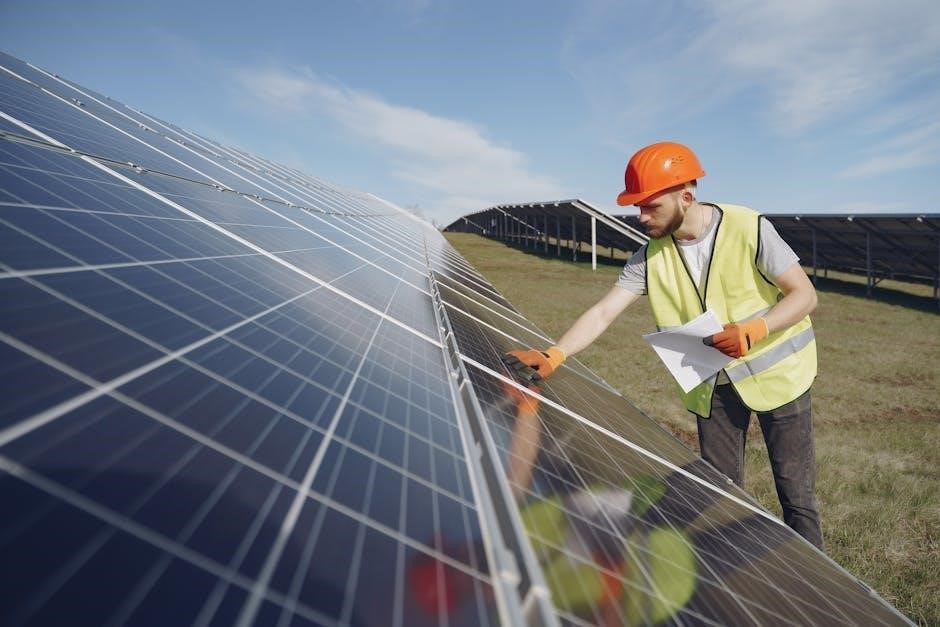
Troubleshooting and Maintenance
Regular inspections and monitoring ensure optimal solar system performance. Check for inverter malfunctions‚ loose connections‚ and panel damage. Use the installation diagram to identify and resolve issues promptly.
Common Issues and Solutions
Solar panel systems can encounter issues like inverter malfunctions‚ panel damage‚ or wiring faults. If the inverter fails‚ check its display for error codes and ensure it’s properly connected. Damaged panels should be inspected and replaced if necessary. Wiring issues‚ such as loose connections‚ can cause system inefficiency. Regularly reviewing the installation diagram helps identify potential problems. Additionally‚ monitoring system performance through connected apps can alert you to discrepancies. Always refer to the diagram to trace connections and components. If issues persist‚ consult a professional to avoid further complications. Proper maintenance and timely repairs ensure optimal energy production and system longevity.
Legal and Regulatory Requirements
Ensure your solar panel installation complies with local building codes‚ electrical standards‚ and permits. Review the installation diagram to verify compliance and obtain necessary approvals before starting the project.
Permits and Compliance
Before installing solar panels‚ ensure all necessary permits and approvals are obtained. This includes building permits‚ electrical permits‚ and environmental clearances. Review local regulations and submit detailed installation diagrams for approval. Compliance with national and regional standards‚ such as grid connection requirements‚ is mandatory. Ensure your system meets safety and efficiency standards. In some regions‚ specific applications like G99 for larger systems may be required. Failure to comply can result in fines or system disconnection. Always work with certified professionals to navigate legal requirements and avoid complications. Proper documentation and inspections are critical to ensure your solar installation is legally approved and safe to operate.
DIY vs Professional Installation
DIY solar installation saves costs but requires technical skills and time. Professional installation ensures safety‚ compliance‚ and efficiency‚ though at a higher expense. Choose wisely based on expertise.
Pros and Cons of Each Approach
DIY solar installation offers cost savings and hands-on learning but requires technical expertise and time. It may void warranties and lack compliance guarantees. Professional installation ensures safety‚ compliance‚ and optimal performance but is more expensive. DIY suits those with experience‚ while professionals are recommended for complex systems or those prioritizing reliability. Weighing factors like budget‚ skill level‚ and system complexity is crucial for making an informed decision. Both approaches have trade-offs‚ so understanding your priorities helps choose the best fit for your solar energy goals and ensures a successful installation process tailored to your needs and capabilities.