Sennheiser RS 175 Manual: A Comprehensive Guide
Sennheiser, established in 1945, delivers premium audio solutions; this guide supports the RS 175 wireless headphone system, ensuring optimal performance and user satisfaction.
The Sennheiser RS 175 is a premium wireless headphone system designed for exceptional audio fidelity and comfortable listening. As a product of Sennheiser’s 33-year history of audio innovation – dating back to 1993 – it embodies the brand’s commitment to quality. This system delivers a captivating sound experience, ideal for home entertainment and critical listening.
Sennheiser, a German manufacturer of professional audio equipment, has established itself as a trusted name in the industry. The RS 175 offers a convenient, cable-free solution without compromising on sound quality. This manual provides comprehensive instructions for setup, operation, and maintenance, ensuring you fully enjoy your investment in genuine Sennheiser craftsmanship.
Unboxing and Component Overview
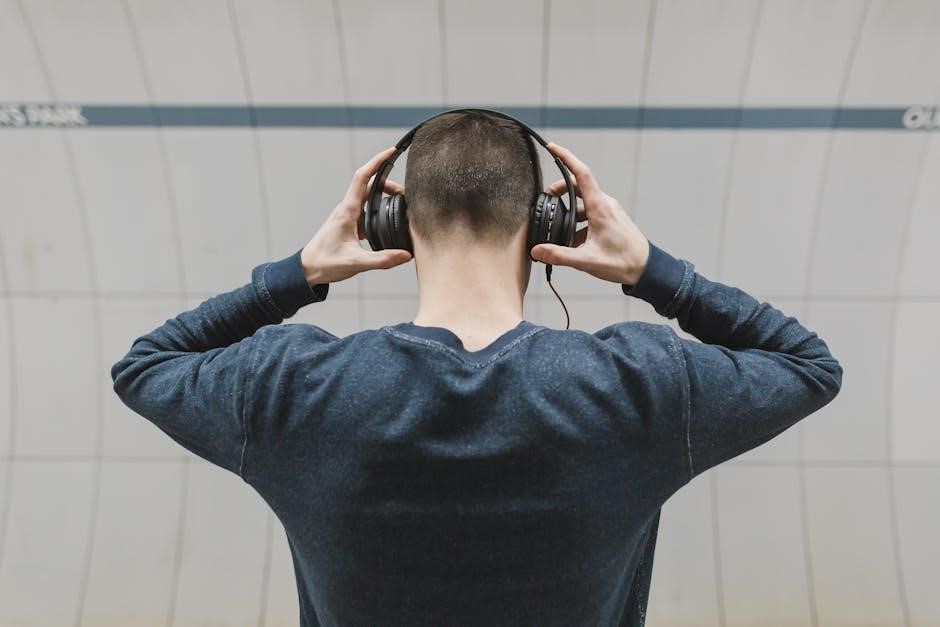
Upon opening your Sennheiser RS 175 package, carefully inspect the contents. You should find the following components: one RS 175 transmitter base station, one pair of RS 175 headphones, a power adapter for the transmitter, and this user manual. Additional items may include a charging cable (USB) for the headphones, depending on the region.
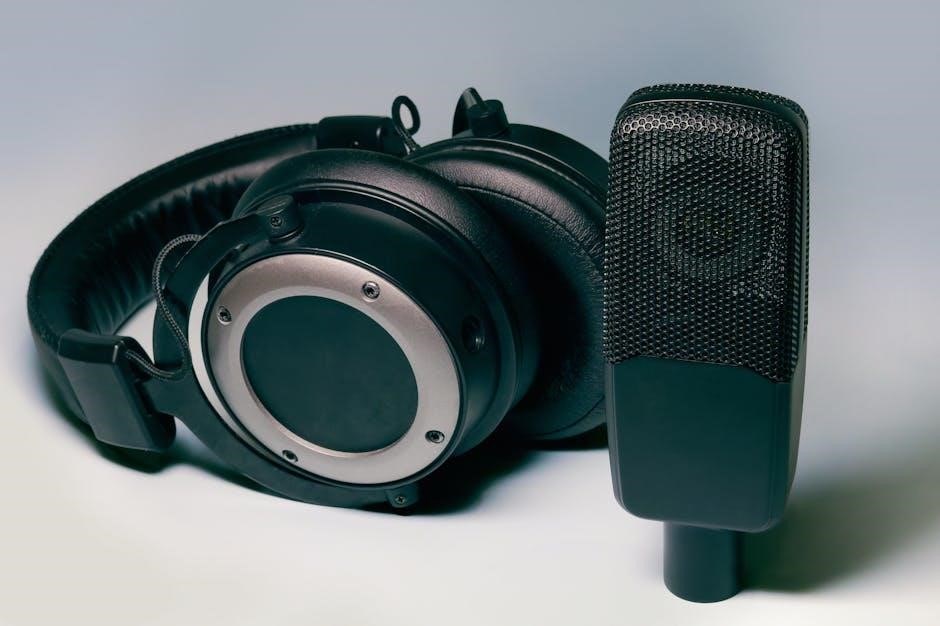
The transmitter features controls for volume and frequency selection. The headphones boast comfortable earcups and intuitive controls for power and volume adjustment. Ensure all components are present and undamaged. If anything is missing or appears faulty, contact Sennheiser support immediately. Proper component identification is crucial for successful setup and operation of your new wireless system.
System Features and Specifications
The Sennheiser RS 175 is a wireless headphone system designed for exceptional audio fidelity and comfort. Key features include a dynamic driver system delivering high-quality sound, and an open-air headphone design for a spacious listening experience. It operates on a 2.4 GHz digital wireless frequency, minimizing interference.
Specifications: Frequency response: 18 Hz – 20 kHz. Total Harmonic Distortion (THD): <0.3%. Operating range: up to 30 meters (98 feet). Battery life: up to 18 hours. The transmitter offers adjustable volume control and selectable channels. This system provides a reliable and immersive audio experience for home entertainment and personal listening.

Setting Up Your RS 175 System
Proper setup ensures optimal performance. Connect the transmitter to a power source and audio device, then pair the headphones for a seamless wireless experience.

Transmitter Setup and Connections
Begin by placing the RS 175 transmitter in a central, open location for optimal signal transmission. Connect the provided power adapter to the transmitter and a suitable power outlet. Next, use an RCA cable to connect the transmitter’s audio input to your audio source – this could be a television, stereo receiver, or other compatible device.
Ensure the RCA connections are secure and properly matched (red to red, white to white). The transmitter also features a headphone output jack, allowing for direct monitoring. Verify all connections before powering on the system. A stable power supply and correct audio input are crucial for clear sound transmission and avoiding interference. Refer to the diagrams in this manual for visual guidance on proper connection procedures.
Headphone Pairing and Charging
To pair the headphones with the transmitter, ensure both are powered on. The headphones should automatically enter pairing mode upon initial use, indicated by a blinking LED. If not, press and hold the power button on the headphones until the LED flashes. The transmitter will automatically detect and pair with the headphones.
For charging, connect the provided charging cable to the headphones’ charging port and a USB power source. A full charge typically takes approximately 3-4 hours, indicated by a solid LED. Avoid overcharging the headphones, as this can reduce battery lifespan. The headphones can be used while charging, but charging time may be extended. Always use the supplied charging cable for optimal performance and safety.
Initial System Testing
After successfully pairing the headphones and transmitter, conduct a thorough system test. Power on both units and select an audio source connected to the transmitter – such as a TV or audio player. Verify audio output through the headphones by adjusting the volume control on both the transmitter and the headphones.
Walk around your listening area to assess the wireless range and signal stability. The RS 175 is designed for indoor use, offering a reliable connection within a typical home environment. Listen for any dropouts or interference. If issues arise, try repositioning the transmitter or selecting a different frequency channel (see Advanced Features section). Confirm comfortable fit and sound quality.

Understanding the Controls
The Sennheiser RS 175 features intuitive controls on both the transmitter and headphones, allowing for easy adjustments to volume, frequency, and other settings.
Transmitter Control Functions
The Sennheiser RS 175 transmitter boasts several key controls for optimal operation. The power switch, prominently located, initiates system functionality. A volume control dial allows precise audio level adjustments, catering to individual listening preferences. Channel selection buttons enable users to choose the optimal frequency, minimizing potential interference from other wireless devices.
Additionally, a balance control adjusts the audio output between the left and right channels, ensuring a personalized soundstage. LED indicators clearly display the selected channel and power status. The transmitter also features input selection, accommodating various audio sources. Understanding these controls is crucial for maximizing the RS 175’s performance and enjoying a seamless wireless listening experience.
Headphone Control Functions
The Sennheiser RS 175 headphones offer intuitive controls for a user-friendly experience. A prominent power switch activates and deactivates the headphones, conserving battery life when not in use. The volume control wheel allows for quick and precise audio level adjustments, tailoring the sound to your environment.
Furthermore, a dedicated mute button instantly silences the audio output, providing privacy or preventing unwanted sound transmission. A pairing button facilitates easy connection with the transmitter, ensuring a stable wireless link. LED indicators display power status and pairing confirmation. These controls empower users to personalize their listening experience and maintain optimal functionality of the RS 175 headphones.
LED Indicators and Their Meanings
The Sennheiser RS 175 system utilizes LED indicators on both the transmitter and headphones to communicate system status. A solid blue light on the headphones signifies a successful connection to the transmitter, indicating active audio transmission. A flashing blue light indicates pairing mode, ready to connect.
On the transmitter, a solid green LED confirms power and normal operation. A flashing red light signals a low battery on the headphones, prompting a recharge. A continuously lit red light may indicate a pairing issue or interference. Understanding these LED signals allows for quick troubleshooting and ensures optimal system performance, providing a seamless wireless listening experience.

Troubleshooting Common Issues
Addressing typical problems like sound loss, pairing failures, or charging difficulties ensures continued enjoyment of your Sennheiser RS 175 wireless headphone system.
No Sound Output
If you experience no sound with your Sennheiser RS 175, begin by verifying the volume control on both the transmitter and headphones – ensure they aren’t muted or set too low. Confirm the headphones are correctly paired with the transmitter; re-pairing might be necessary.
Check the audio source connection to the transmitter, ensuring it’s securely plugged in and functioning correctly. Try a different audio source to isolate the issue. Inspect the headphone cable (if applicable) for damage. Battery levels in both units are crucial; low batteries can cause intermittent or complete sound failure.
Finally, interference from other wireless devices can sometimes disrupt the signal. Try relocating the transmitter away from potential sources of interference. If problems persist, consult the full manual or Sennheiser support.
Pairing Problems
Experiencing difficulty pairing your Sennheiser RS 175 headphones? First, ensure the headphones are within range of the transmitter – typically within 30 feet, unobstructed. Confirm the transmitter is powered on and not already paired with another device. Initiate the pairing process on both the headphones and transmitter, following the steps outlined in the manual.
If pairing fails repeatedly, try resetting both devices. A reset often involves holding a specific button combination for a set duration. Check for interference from other wireless signals, which can disrupt the pairing process. Ensure no other headphones are attempting to connect to the same transmitter simultaneously.
Consult the manual for specific pairing button locations and sequences. If issues continue, contact Sennheiser support for assistance.
Charging Issues
If your Sennheiser RS 175 headphones aren’t charging, first verify the power adapter is securely connected to both the charging cradle and a functioning power outlet. Ensure the headphones are correctly positioned within the charging cradle, making proper contact with the charging pins. A full charge typically takes several hours; patience is key.
Inspect the charging pins on both the headphones and cradle for any debris or damage. Clean them gently with a dry, soft cloth. If the charging indicator light doesn’t illuminate, the adapter or cradle may be faulty. Try a different compatible power adapter if possible.
Battery life diminishes over time; consider battery replacement if charging issues persist despite troubleshooting. Refer to the manual for battery specifications.

Advanced Features and Customization
Explore personalized listening with volume adjustments and frequency selection, minimizing interference for a pristine audio experience with the Sennheiser RS 175 system.
Adjusting Volume Levels
The Sennheiser RS 175 offers convenient volume control directly on both the transmitter and the headphones themselves. On the transmitter, utilize the dedicated volume buttons – typically marked with plus (+) and minus (-) symbols – to globally adjust the output level sent to the headphones. This is useful for initial setup or when needing to quickly change the listening volume for everyone.
For individual preference, the headphones also feature independent volume controls. These buttons allow you to fine-tune the sound to your liking without affecting the transmitter’s output. Experiment with both sets of controls to find the perfect balance. Be mindful of listening at safe volumes to protect your hearing. Start at a low level and gradually increase it until comfortable.
Remember that excessive volume can cause hearing damage. Always prioritize safe listening practices when enjoying your Sennheiser RS 175 wireless headphones.
Frequency Selection and Interference Avoidance
The Sennheiser RS 175 utilizes wireless technology susceptible to interference from other devices. To optimize performance, the system may offer selectable frequencies. Consult the manual for instructions on accessing and changing these settings. Experimenting with different channels can minimize disruptions caused by Wi-Fi routers, Bluetooth devices, or other wireless transmitters.
If you experience static, dropouts, or distorted audio, frequency adjustment is a primary troubleshooting step. Scan for the clearest channel with minimal interference. The RS 175’s automatic channel selection feature can also assist in identifying optimal frequencies. Ensure the transmitter and headphones are within the recommended operating range for best results.
Reducing potential interference sources near the transmitter and headphones can also improve audio quality. Keep them away from large metal objects and electronic equipment.
Understanding Auto-On/Off Functionality
The Sennheiser RS 175 incorporates an auto-on/off feature designed to conserve battery life and enhance user convenience. When you place the headphones on your head, they should automatically power on, initiating the audio stream from the transmitter. Similarly, removing the headphones triggers automatic power-off after a pre-defined period of inactivity.
This functionality isn’t foolproof; occasional manual activation may be necessary. If the headphones don’t power on automatically, press the power button. The transmitter also features an auto-standby mode, activating when no audio signal is detected. This minimizes energy consumption when not in use.
Consult the manual for customization options regarding the auto-off timer duration. Adjusting this setting can tailor the system to your listening habits.
Maintenance and Care

Regular cleaning with a soft, dry cloth preserves the RS 175’s quality. Proper battery care—avoiding extremes—and storage contribute to longevity and optimal performance.
Cleaning the Headphones and Transmitter
To maintain the pristine condition and optimal performance of your Sennheiser RS 175 wireless headphones and transmitter, regular cleaning is essential. Always disconnect the transmitter from any power source before cleaning. For both the headphones and transmitter, use a soft, dry, lint-free cloth to gently wipe away dust and dirt.
Avoid using harsh chemicals, abrasive cleaners, or solvents, as these can damage the surfaces. For stubborn marks, slightly dampen the cloth with a mild detergent solution, ensuring it’s wrung out thoroughly to prevent moisture from entering the components. Pay particular attention to the ear pads, cleaning them regularly to prevent buildup of perspiration and oils. Ensure both components are completely dry before use.
Do not attempt to disassemble either the headphones or transmitter for cleaning purposes, as this may void the warranty and potentially damage the internal components.
Battery Care and Replacement
The Sennheiser RS 175 headphones utilize rechargeable batteries for convenient wireless operation. To maximize battery lifespan, avoid fully discharging them before recharging. Frequent top-ups are preferable to complete depletion. Use only the provided charging adapter to prevent damage.
When replacing the batteries (if necessary, after extended use), ensure you use compatible rechargeable batteries with the correct voltage and capacity. Incorrect batteries can harm the headphones and pose a safety risk. Dispose of old batteries responsibly, following local regulations for electronic waste.
Avoid exposing the headphones or transmitter to extreme temperatures, as this can negatively impact battery performance and longevity. Store the headphones in a cool, dry place when not in use to preserve battery health.

Sennheiser Support and Warranty Information
Sennheiser provides comprehensive support for the RS 175 wireless headphone system. For frequently asked questions, troubleshooting guides, and software updates, visit the official Sennheiser website. Direct access to support resources is available through their online help center, offering detailed articles and tutorials.
The RS 175 is covered by a limited warranty against defects in materials and workmanship. The warranty period varies by region, typically spanning one to two years from the date of purchase. Proof of purchase is required for all warranty claims.
For warranty service or technical assistance, contact Sennheiser customer support via phone or email. Authorized service centers are also available for repairs and maintenance. Retain your original packaging for potential returns or servicing.