Understanding proper operation ensures optimal performance, safety, and longevity. Honeywell humidifiers are designed for easy use, but following guidelines is crucial for best results and user satisfaction.
1.1 Overview of Honeywell Humidifiers
Honeywell humidifiers offer a range of models designed to provide optimal indoor humidity. From cool mist to warm mist options, these units ensure comfort and relief from dry air. Models like the HUL520 and HWM440 feature top-fill designs for easy refilling and maintenance. With capacities up to 1.5 gallons, they are suitable for various room sizes. Many units include adjustable settings, allowing users to customize mist output. Honeywell humidifiers are known for quiet operation, energy efficiency, and built-in features like reset lights for low water levels. They also support optional accessories, such as essential oil trays, to enhance user experience.
1.2 Importance of Proper Usage

Proper usage of Honeywell humidifiers ensures safety, efficiency, and effectiveness. Always follow guidelines to avoid risks like electric shock or over-humidification. Maintaining ideal indoor humidity levels (40-60%) prevents issues like mold growth. Regular cleaning and disinfecting are essential to prevent bacteria buildup. Proper setup, including placing the unit away from walls and furniture, ensures even mist distribution. Adhering to maintenance schedules prolongs the lifespan of the humidifier. Incorrect usage can lead to poor performance or damage, so consulting the manual is crucial for optimal results and user satisfaction.
Installation and Setup
Proper installation ensures safe and efficient operation. Unpack carefully, remove packaging materials, and ensure all components are securely assembled. Place the humidifier on a flat, stable surface, away from walls and furniture. Always use a polarized 120V outlet and avoid overfilling to prevent water spillage. Follow manual instructions for correct water level and positioning to achieve optimal performance and safety.
2.1 Unpacking and Initial Setup
Begin by carefully unpacking the humidifier and its components. Remove all packaging materials, ensuring no debris remains. Place the unit on a flat, stable surface, away from walls and furniture to ensure proper airflow. Locate a polarized 120V outlet nearby, as this is essential for safe operation. Before plugging in, ensure your hands are dry to avoid electric shock. Fill the water tank with distilled or tap water, but do not overfill, as this can lead to leakage. Refer to the manual for specific assembly instructions if additional parts are included. Proper initial setup ensures safe and efficient operation from the start.
2.2 Assembly and Placement
Proper assembly and placement are crucial for optimal performance. Ensure all components, such as the Mist Chimney and Heating Element Cover, are securely attached. Place the humidifier on a flat, stable surface, ideally at least 3 feet away from walls and furniture to prevent moisture buildup. Direct the mist output away from bedding and curtains to avoid dampness. Ensure the unit is placed near a polarized 120V outlet, and keep the surrounding area dry. Proper positioning maximizes airflow and humidity distribution while minimizing the risk of electrical hazards or water damage.
Operating the Humidifier
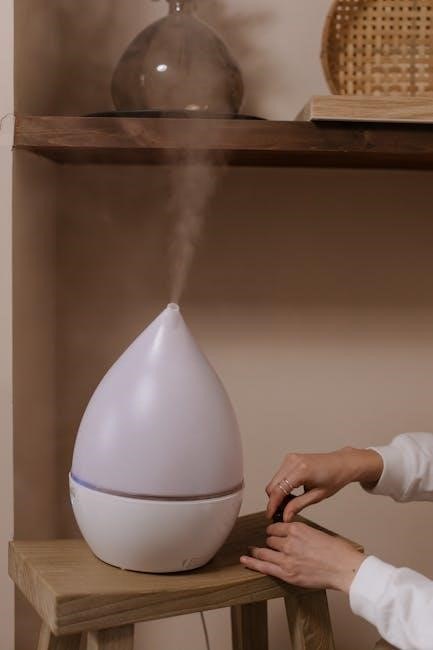
Turn the Power Knob clockwise to activate and adjust output settings. Position the humidifier to direct mist away from walls and furniture for optimal air circulation and moisture distribution.
3.1 Powering On and Off
To power on the humidifier, ensure the Power Knob is in the OFF position before plugging it into a polarized 120V outlet. Avoid plugging in with wet hands to prevent electric shock. Once plugged in, turn the Power Knob clockwise to your desired setting. For turning off, switch the Power Knob to the OFF position (centered) and unplug if not in use. Always wait for the unit to cool down before handling. If the Reset Light illuminates, it may indicate low water levels or maintenance needs. Refer to the manual for specific instructions to ensure safe and efficient operation.
3.2 Adjusting Output Settings
Adjust the humidifier’s output by turning the Power Knob clockwise for higher settings and counterclockwise for lower output. For models with a Power Switch, press left for low output and right for high. Ensure the mist direction is away from walls and furniture to prevent condensation. Monitor humidity levels to maintain an ideal range of 40-60%. If the Reset Light activates, refill with up to 1.5 gallons of water, wait 5 minutes, and restart. Avoid over-humidification by adjusting settings based on room conditions for optimal performance and energy efficiency. Regular monitoring ensures consistent comfort and prevents moisture-related issues. Always refer to the manual for specific model instructions to maintain proper function and safety.
3.3 Positioning for Optimal Performance
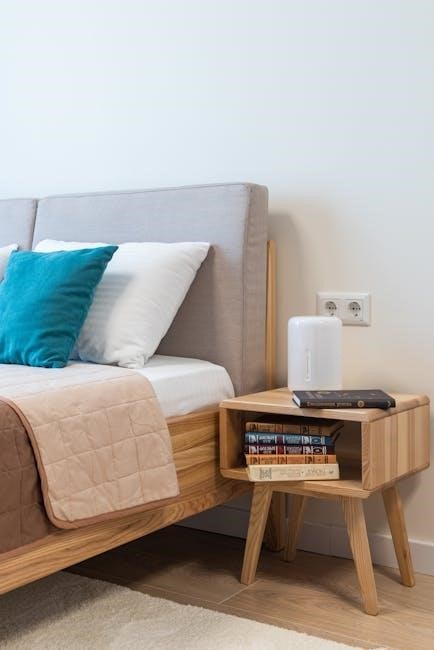
Place the humidifier on a flat, stable surface at least 12 inches away from walls and furniture to ensure proper airflow. Direct the mist output away from bedding, walls, and carpets to avoid moisture buildup. Positioning the unit in the center of the room helps distribute moisture evenly. For cool mist models, ensure the fan operates without obstruction. Avoid placing the humidifier near heating vents or radiators, as this can disrupt humidity distribution. Keeping it away from carpets prevents moisture absorption and potential mold growth. Proper positioning enhances performance and helps maintain ideal humidity levels between 40-60% for maximum comfort and efficiency.
Maintenance and Cleaning

Regular cleaning and disinfecting are essential for maintaining efficiency and hygiene. Follow weekly routines, descale as needed, and ensure the unit is dry before storage for optimal performance.
4.1 Weekly Cleaning Routine

Regular weekly cleaning ensures your Honeywell humidifier operates efficiently and remains free from bacteria. Start by draining the water tank and rinsing it with clean water. Use a soft brush or cloth to remove any visible debris or mineral buildup. For disinfecting, mix 1/2 teaspoon of bleach with 1/2 gallon of water and apply it to all surfaces. Let it sit for 10-15 minutes before rinsing thoroughly. Always dry the unit completely after cleaning to prevent moisture accumulation. This routine helps maintain hygiene and prevents the growth of mold and mildew, ensuring clean mist output and optimal performance.
4.2 Disinfecting and Scale Removal
Disinfecting and removing scale buildup are essential for maintaining your Honeywell humidifier’s performance. For disinfecting, mix 1/2 teaspoon of bleach with 1/2 gallon of water. Apply the solution to all surfaces, let it sit for 10-15 minutes, then rinse thoroughly. For scale removal, soak the parts in a mixture of equal parts water and white vinegar for 30 minutes. Use a soft brush to gently scrub away mineral deposits. Avoid harsh chemicals to prevent damage. Regular disinfecting and descaling ensure clean mist output and prevent bacterial growth, keeping your humidifier in optimal condition. Always rinse thoroughly after cleaning.

Troubleshooting Common Issues
Identify and resolve issues quickly with troubleshooting guides. Common problems include low output, shut-offs, or mist issues, often fixed by refilling water or cleaning the unit regularly.
5.1 Humidifier Shutting Off
The humidifier may shut off due to low water levels or automatic safety features. If the reset light illuminates, refill the tank with up to 1.5 gallons of water. Turn the power off, wait five minutes, then restart. Ensure the water level float is clean and functioning properly. If issues persist, check for blockages or mineral buildup. Regular cleaning and descaling can prevent unexpected shutdowns. Always refer to the manual for specific reset procedures to maintain optimal performance and safety.
5.2 Low Output and Mist Issues
Low output or inconsistent mist may occur due to incorrect water levels, mineral buildup, or blocked outlets. Ensure the tank is filled to the recommended level without overfilling. Use distilled water to minimize scale buildup. Check the mist outlet for blockages and clean it regularly; If issues persist, inspect the filter for damage or debris and replace it if necessary. Proper fan operation is also crucial for mist distribution. Regular descaling and disinfecting can help maintain performance. Refer to the manual for detailed cleaning and troubleshooting steps to resolve output and mist-related problems effectively.
Consumer Relations and Support

Honeywell offers dedicated support through toll-free calls, email, and their official website. Reach them at 1-800-477-0457 or visit www.HoneywellPluggedIn;com for assistance.
6.1 Contact Information
Honeywell provides comprehensive support for their humidifiers. For assistance, call toll-free at 1-800-477-0457 or email ConsumerRelationsHelenofTroy.com. Visit their website at www.HoneywellPluggedIn.com for resources and support. Ensure to mention your model number, such as HWM440 or HWM445, when contacting support. This ensures quick and effective resolution of any issues. Honeywell’s customer service team is dedicated to addressing inquiries and concerns promptly, ensuring a smooth experience for all users.
6.2 Warranty and Assistance
Honeywell humidifiers come with a comprehensive warranty, ensuring customer satisfaction. For warranty details, contact their toll-free number 1-800-477-0457 or visit www.HoneywellPluggedIn.com. Assistance is available for troubleshooting, repairs, and general inquiries. Always refer to your model number when seeking support, such as HWM440 or HWM445, to expedite service. Honeywell’s commitment to quality and customer care ensures reliable assistance, maintaining your humidifier’s performance and longevity. Their dedicated team provides timely and effective solutions, upholding the brand’s reputation for excellence and reliability.