Bowflex XTL Assembly Manual: A Comprehensive Plan
This manual details the Bowflex XTL assembly, covering components, tools, and step-by-step instructions, alongside troubleshooting, maintenance, and exercise guidance.
The Bowflex XTL represents a versatile home gym system, popular from the late 1990s through the early 2000s. This comprehensive manual guides you through assembling your XTL Power Pro, ensuring a safe and effective workout experience. It’s designed for users seeking a full-body strength training solution within the convenience of their homes.
Understanding the XTL’s features and proper assembly is crucial for maximizing its benefits. This guide references original documentation from around 1997-2000, offering detailed instructions. Whether you’ve recently acquired a new or used XTL, this resource will help you navigate the assembly process, from frame construction to accessory attachment, ultimately unlocking its full potential.
Understanding the Components
The Bowflex XTL consists of a robust steel frame, a cable and pulley system, and a weight stack providing adjustable resistance. Key components include the power rods – available in varying resistance levels – the seat and backrest for comfortable exercise, and various attachments like the foot harness and ankle straps.
Familiarize yourself with each part before beginning assembly. The rolling trolley seat and optional leg press attachment enhance versatility. Identifying each component, as listed in original manuals, will streamline the process. Understanding how these parts interact is vital for correct assembly and safe operation, ensuring a durable and effective home gym setup.
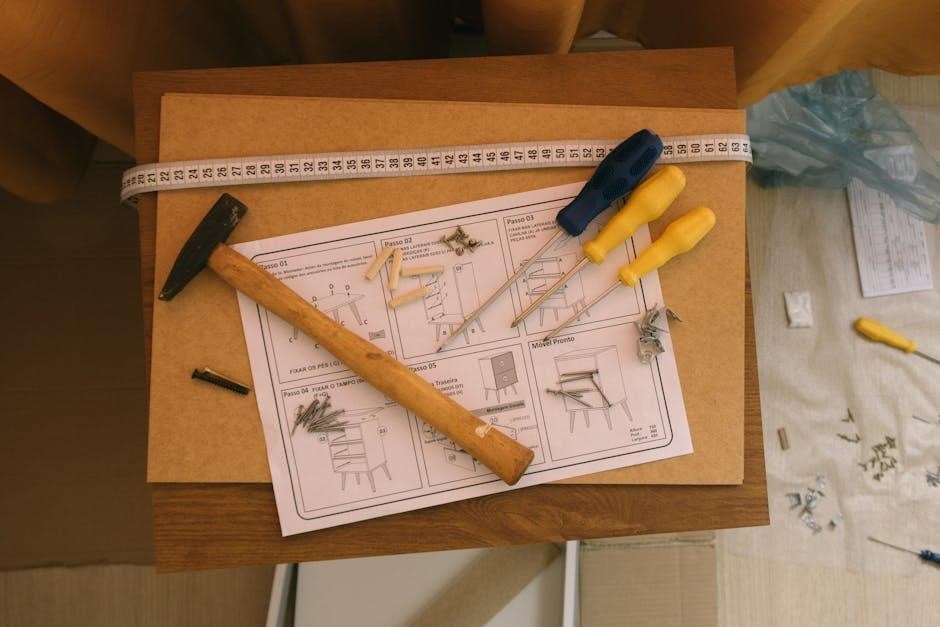
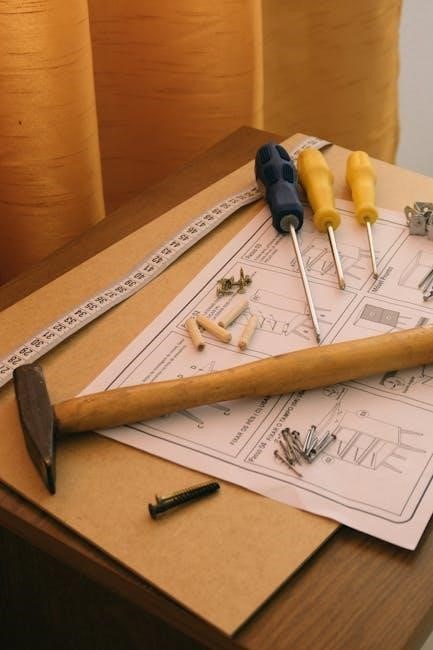
Tools Required for Assembly
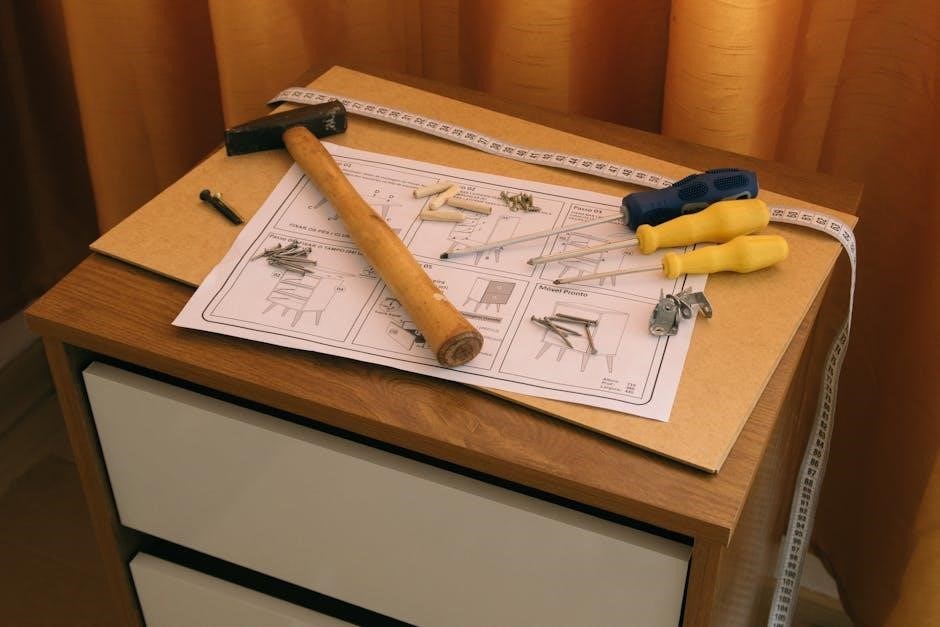
Assembling your Bowflex XTL requires a basic toolkit. Essential tools include a socket wrench set (metric sizes are crucial), an adjustable wrench, a Phillips head screwdriver, and a flathead screwdriver. A rubber mallet can assist with fitting components securely.
While not strictly necessary, a torque wrench is recommended to ensure bolts are tightened to the correct specifications, preventing damage. Having a level handy will guarantee the machine is stable. Protective gloves are advisable to safeguard your hands during assembly. Refer to the manual for specific tool sizes; proper tools will simplify the process and ensure a safe, sturdy build.
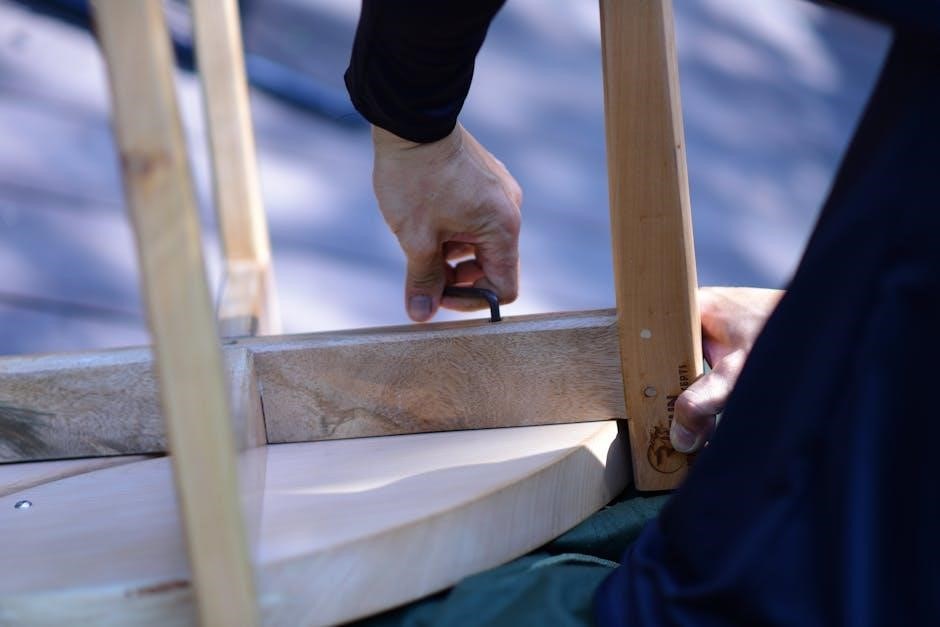
Step-by-Step Assembly Guide
Follow these instructions carefully, beginning with the frame, then cables, weight stack, and seat. Detailed diagrams aid in correct part placement and secure fastening.
Frame Assembly
Begin by unpacking all frame components and verifying against the parts list. Attach the base frame sections using the provided bolts, ensuring proper alignment before tightening. Next, connect the upright supports to the base, again confirming alignment. Securely fasten all connections with the appropriate wrenches, avoiding over-tightening. Pay close attention to the orientation of each piece, as incorrect assembly can compromise stability. Double-check all bolts for tightness after initial assembly. Refer to the diagrams for visual guidance throughout this process. A stable frame is crucial for safe and effective workouts, so prioritize accuracy and secure connections during this foundational step. Ensure the assembled frame sits level on the floor before proceeding.
Cable and Pulley System Installation
Start by attaching the pulleys to the frame, ensuring they rotate freely. Thread the cables through the pulleys, following the diagram carefully to avoid tangling or incorrect routing. Secure the cables to the weight stack selector pin, verifying a smooth and consistent pull. Next, connect the cable ends to the various attachment points, like the lat tower and lower pulley system. Inspect the cable pathways for any obstructions or potential friction points. Confirm proper cable tension and range of motion. Always use the correct cable length for each attachment. Regularly check cable integrity for fraying or damage, prioritizing safety during installation and use.
Weight Stack Attachment
Begin by carefully sliding the weight plates onto the weight stack rod, ensuring they are properly aligned and secured with the retaining clips. Verify the plates are stacked in ascending order, with the heaviest plates at the bottom for stability. Double-check that all clips are firmly in place to prevent accidental plate slippage during exercise. Connect the weight stack rod to the selector pin mechanism, confirming smooth and secure engagement. Test the weight selection by attempting to lift various weights, ensuring accurate and consistent resistance. Inspect the entire weight stack assembly for any loose parts or potential hazards.
Seat and Backrest Installation
Attach the seat and backrest assembly to the main frame using the provided bolts and washers, ensuring proper alignment with the mounting holes. Tighten the bolts securely with the appropriate wrench, but avoid over-tightening, which could damage the frame or components. Adjust the seat height and backrest angle to your preferred ergonomic position for optimal comfort and support during workouts; Confirm the seat slides smoothly along the rail system and locks firmly into place at various positions. Inspect the entire seat and backrest assembly for stability and proper functionality before use.

Rod and Resistance Configuration
Configure power rods for desired resistance levels, understanding each rod’s weight contribution; adjust settings for progressive overload and personalized workout intensity.
Power Rod Installation
Installing the Bowflex XTL’s power rods requires careful attention to ensure proper function and safety. Begin by identifying the correct rod color corresponding to your desired resistance level – referencing the manual is crucial. Securely attach each rod to the frame’s designated slots, ensuring a firm click or lock.
Double-check that all rods are fully seated and aligned correctly before proceeding. Incorrect installation can lead to instability or potential injury during exercise. The manual details specific rod configurations for various resistance levels, allowing for customized workouts. Remember to distribute the weight evenly across both sides of the machine for balanced resistance.
Resistance Level Adjustment
Adjusting resistance on the Bowflex XTL is achieved by modifying the power rod configuration. The manual provides detailed charts illustrating how to combine different rod weights to achieve specific resistance levels. Begin by releasing the locking pins on the desired rod slots. Then, carefully remove or add rods, following the recommended combinations for your fitness goals.
Ensure the pins securely lock back into place after each adjustment. Experiment with various combinations to find the optimal resistance for each exercise. Remember that higher resistance levels require greater strength and control, so start gradually and increase as you progress.
Rod Storage Solutions
Proper storage of the Bowflex XTL power rods is crucial for safety and longevity. When not in use, rods can be neatly stored within the frame itself, utilizing the designated rod racks. Ensure each rod is securely placed to prevent accidental dislodgement. Alternatively, consider dedicated rod storage solutions, such as wall-mounted racks or storage bins.
Avoid storing rods in direct sunlight or extreme temperatures, as this can compromise their elasticity. Regularly inspect rods for any signs of wear or damage. Safe and organized storage protects both the equipment and your workout space.
Accessory Attachment & Functionality
Explore versatile attachments like foot harnesses, ankle straps, and rowing units, expanding exercise options and maximizing the Bowflex XTL’s training potential.
Foot Harness Assembly
The foot harness is crucial for lower body exercises on the Bowflex XTL, enabling leg curls and extensions. Begin by identifying all harness components – straps, cuffs, and connecting hardware. Carefully attach the straps to the cuffs, ensuring a secure and comfortable fit around your ankles.
Next, connect the assembled cuffs to the cable pulley system using the provided clips. Double-check the connections for stability before each use. Proper adjustment of the straps is vital; they should be snug but not constricting. Refer to the diagrams in the manual for correct orientation and attachment points. Always prioritize safety and ensure a firm grip during exercise.
Ankle Straps and Attachment

Ankle straps expand exercise versatility, targeting specific leg muscles. Begin by securely fastening the straps around your ankles, ensuring a comfortable yet firm fit – avoid overly tight adjustments. Locate the D-rings on the straps; these are connection points to the Bowflex XTL’s cable system.
Using the included short straps or clips, attach the ankle straps to the lower cable pulley. Verify the connection is robust before initiating any exercise. Adjust strap length to optimize range of motion and exercise effectiveness. Regularly inspect straps for wear and tear, replacing them if damaged. Prioritize safety and proper form during use.
Rowing Attachment Installation
The rowing attachment transforms your Bowflex XTL into a full-body workout station. Begin by locating the rowing footplate and securing it to the base of the machine using the provided bolts and washers. Ensure it’s firmly attached for stability during use.
Next, connect the rowing cable to the upper pulley system. Attach the handle to the cable, verifying a secure connection. Adjust the cable length to suit your height and desired rowing motion. Test the attachment before each use, confirming smooth operation and secure connections. Proper installation maximizes the rowing exercise’s effectiveness.

Troubleshooting Common Assembly Issues
Common problems include missing parts, incorrect installation, and cable routing difficulties; this section provides solutions for a smooth Bowflex XTL setup process;
Missing Parts
Discovering missing components during Bowflex XTL assembly is frustrating, but resolvable. First, meticulously re-check all packaging materials – smaller parts often hide within protective layers. Compare received parts against the parts list in your assembly manual; this detailed inventory is crucial.
If a part is genuinely missing, contact Bowflex customer support immediately, providing your model number and the specific part’s identification code (from the manual). Have your proof of purchase ready.
Bowflex typically ships replacements free of charge, but processing times vary. Document the missing part with photos for faster resolution. Avoid attempting workarounds with substitute parts, as this could compromise safety and void warranties.
Incorrect Part Installation
Misplaced components during Bowflex XTL assembly can lead to instability or malfunction. If you suspect an error, immediately stop and revisit the assembly manual’s diagrams. Carefully compare your work to the illustrated steps, ensuring correct orientation and alignment of each part.
Don’t force connections; proper fit should be relatively easy. Incorrectly installed bolts or screws can strip threads, requiring replacement. If unsure, disassemble the section and restart, paying close attention to detail.
Double-check that all fasteners are securely tightened, but avoid over-tightening, which can damage components. Consulting online forums or videos can offer visual guidance.
Cable Routing Problems
Improper cable routing on the Bowflex XTL can restrict movement and compromise safety. Ensure cables flow smoothly through pulleys without kinks or excessive bending. Refer to the assembly manual’s diagrams for the correct path, avoiding any points of friction.
Check that cables are securely attached to both the weight stack and handles, using the provided clips and retainers. Incorrectly seated cables can detach during exercise, posing a hazard.
If cables bind or snag, retrace the routing, verifying proper alignment. Avoid twisting cables, as this weakens them over time. Online resources may offer helpful visual demonstrations.
Maintenance and Safety
Regular inspection of cables, pulleys, and rods is crucial for safe operation. Promptly address any wear, and always follow safety precautions during use.
Regular Inspection
Consistent inspection of your Bowflex XTL is paramount for longevity and, more importantly, user safety. Before each workout, meticulously examine the cable system for any signs of fraying, kinking, or wear. Pay close attention to the points where cables connect to pulleys and the weight stack. Ensure all pulleys rotate smoothly without binding or excessive noise.
Inspect the power rods for cracks or damage; these are critical components and should be replaced immediately if compromised. Check all bolts and screws to confirm they remain securely tightened throughout the frame. Regularly assess the seat and backrest for stability and proper alignment. A proactive approach to inspection prevents potential issues and ensures a safe, effective workout experience.
Cable Replacement
When cables show signs of wear – fraying, kinking, or reduced flexibility – immediate replacement is crucial. Disconnect the power rods before beginning. Carefully note the original cable routing to ensure correct re-installation. Begin by removing the damaged cable from the pulleys and attachment points.
Install the new cable, following the original path precisely. Verify proper seating within the pulleys and secure attachment to the weight stack and handles. Double-check all connections before re-engaging the power rods. Always use genuine Bowflex replacement cables to maintain compatibility and safety standards. Proper cable replacement restores functionality and prevents potential injury.
Safety Precautions During Use
Prioritize safety during every workout. Always inspect the Bowflex XTL before use, checking for loose parts or cable damage. Ensure the weight stack is securely pinned. Maintain a controlled range of motion throughout each exercise, avoiding jerky movements.
Never exceed your fitness level; start with lighter resistance and gradually increase it. Be mindful of your surroundings and keep children and pets away from the machine. If you experience any pain or discomfort, stop immediately. Proper form is essential to prevent injuries. Consult a physician before starting any new exercise program.
Bowflex XTL Exercise Instructions
Explore a diverse range of exercises targeting upper body, lower body, and core, utilizing the Bowflex XTL’s versatile resistance and accessory options.
Upper Body Exercises
The Bowflex XTL facilitates a comprehensive upper body workout. Utilize the various resistance rod configurations for exercises like chest presses, simulating bench presses with adjustable resistance. Perform bicep curls and tricep extensions, targeting arm strength and definition. Shoulder presses and lateral raises effectively work the deltoids.
Employ the foot harness for lat pulldowns, strengthening back muscles. Rowing exercises, using the optional rowing attachment, provide a full-back workout. Remember to adjust resistance levels appropriately for each exercise, ensuring proper form and maximizing effectiveness. Focus on controlled movements throughout each repetition to prevent injury and optimize muscle engagement.
Lower Body Exercises
The Bowflex XTL enables effective lower body training. Leg extensions and leg curls isolate the quadriceps and hamstrings, respectively, building strength and definition. Utilize the ankle straps for hip abduction and adduction exercises, targeting outer and inner thigh muscles. Squats, performed with resistance rods, effectively work the glutes and overall leg strength.
Consider incorporating lunges, also using the resistance rods, for a more dynamic lower body workout. The optional leg press attachment significantly enhances lower body training capabilities. Always maintain proper form during these exercises, focusing on controlled movements to prevent injury and maximize results. Adjust resistance levels to match your fitness level.
Core Strengthening Exercises
The Bowflex XTL facilitates a robust core workout. Cable crunches effectively target the abdominal muscles, promoting strength and definition. Russian twists, performed with a resistance rod, engage the obliques for improved rotational power and core stability. Utilize the foot harness for hanging knee raises, a challenging exercise for lower abdominal development.
Wood chops, using the cable system, work the entire core musculature, mimicking real-life movements. Remember to maintain proper form throughout each exercise, focusing on controlled movements and engaging your core throughout. Adjust resistance levels to progressively challenge your core strength and endurance.